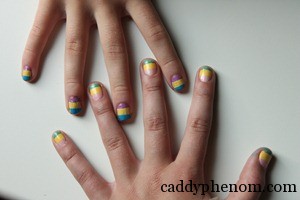
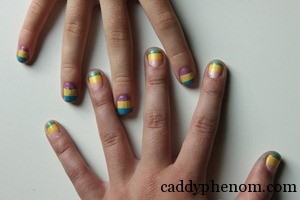
Striped nail polish! I did my nails and then Mary wanted to do it. So I helped her and took pictures along the way.
WARNING: Give yourself lots of time to get this done, I did one layer and then did the others later in the day so I wasn’t stuck with the nail polish stink for so long.
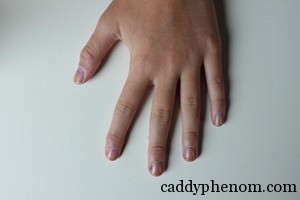
Step 0: Clean nails… obviously, so it’s not going to count as a step.
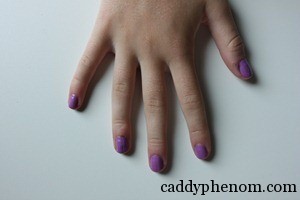
Step 1: Bottom layer painted.
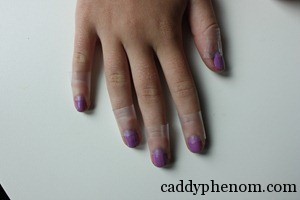
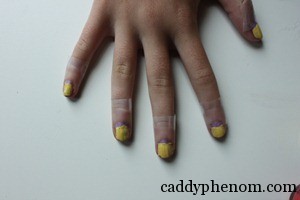
Step 2: Give the first layer plenty extra time to dry. Not wet, or tacky at all. Tape a line up to a third of your nails.
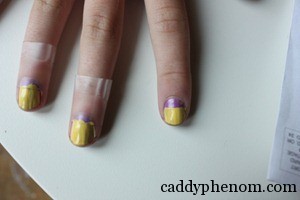
Step 3: Paint above the tape with the second color.
Step 4: Wait for a minute or so and peel off the tape slowly and downwards.
Step 5: Clear coat
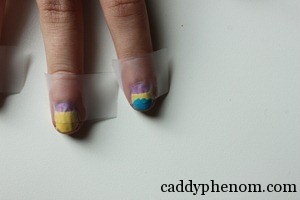
Step 6: Again let dry. Give them lots of time. Then tape again and paint with the third.
Step 7: Pull the tape off again after a minute or so.
Step 8: Clear coat.
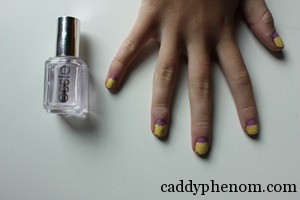
And you’re done! There is so many different combinations of colors. And they’ll all look good!
I think mine looks like sherbet but I’ve heard that they’re Easter colors too. I can’t wait for Halloween, I’m going to try candy corn colors; orange, yellow, white!
For even crazier nail art visit The Dainty Squid and search nails on her site. She comes up with wacky designs regularly. And they’re so fun and colorful!



FUN!