My school is under construction, that means no lockers for us until the first day. But we still got our textbooks at orientation and had to carry them home. I got 5 books and I still haven’t gotten my math or english books. I saw a few people with up to 7. But I have waited all summer to get my textbooks, not to read them, ha! But to cover them in butcher paper. Sound appealing? Bear with me the camera was on high exposure because it was dusk, so the pictures can be fuzzy.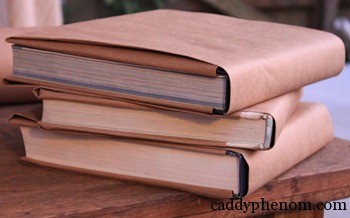
Butcher paper, also known as postal paper, is like thick brown wrapping paper. It comes in a really thick roll and is for surely sale at any office stores in the postal section.
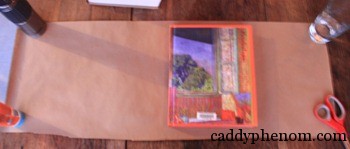
To start, cut out a long rectangle, 4 inches taller than your textbook, my paper is too short but it’ll still work, and 3 and a half times the width, don’t worry about straight edges.
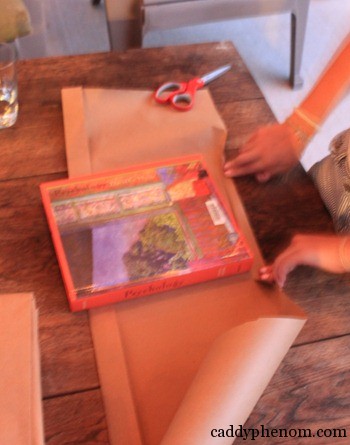
Because the next step is to fold them down. Fold down the top edge about two inches, then measure where to fold the bottom up by lining it up with the bottom of the book.
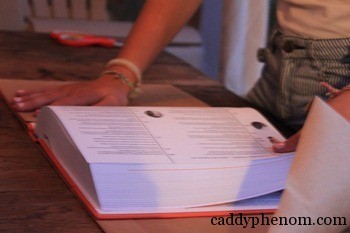
Despite the weary guise, this step is easy. Simply set the book on it’s binding and slide the papers edges so the line up.
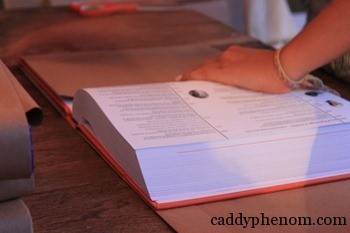
With the book returned to it’s [back? covers? horizontal position?] and all it’s pages flipped to one side, fold over the paper.
Flip the pages over and repeat.
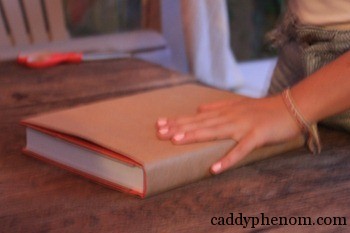
Then close the book. But you’re not done.
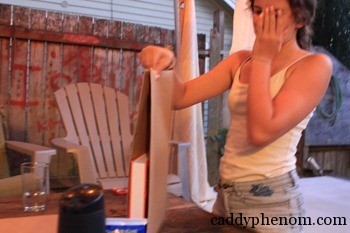
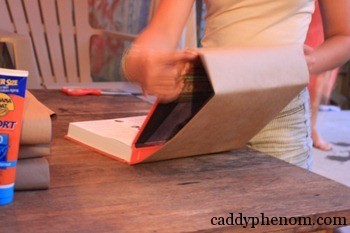
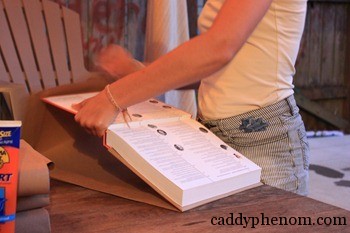
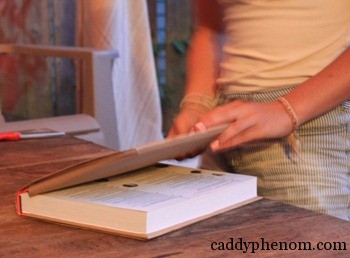
These next two steps are the trickiest part. One side at a time, slide the cover into the folded butcher paper.
On the second side you will have to bend the cover back as far as it will go.
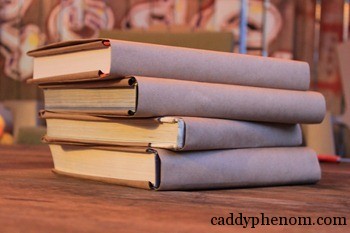
But then you’re done! If the sides poke out, poke them back in. My books have diagrams and timelines in the covers, so I’m going to photocopy and paste the copy onto the butcher paper.
My next step is to write what each book is on the spine so I can grab them easily. 5 minutes passing time.
